In the on-going AEC scenario, the digital transformation is imperative, not optional. One of the most significant shifts reshaping the built environment is the adoption of Scan to BIM workflows, wherein the reality capture technologies such as laser scanning and photogrammetry forms the foundation for accurate Building Information Models (BIM). This process bridges the real-world conditions with the digital design environments thus enabling better decision-making, accurate documentation and streamlined project delivery.
In this blog, we will walk through the realistic Scan to BIM workflow from the initial site scan to permit set documentation, unpacking each phase, challenges, best practices and the tools that makes it possible.
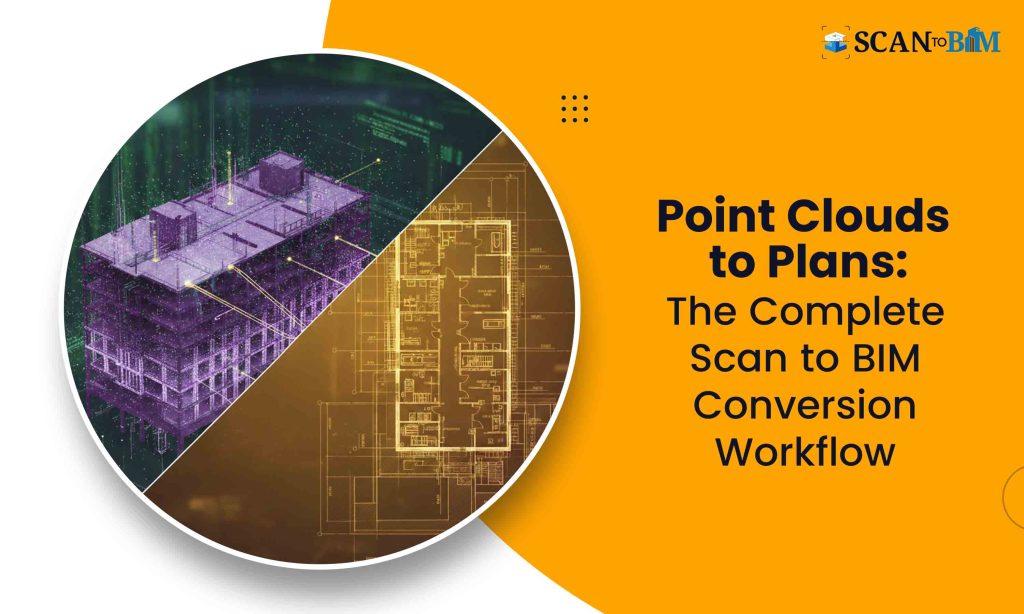
What Exactly is Scan to BIM?
Scan to BIM is the process of converting the existing built environments — captured through the reality capture technologies — into the intelligent BIM models. It begins with capturing a space’s geometry and attributes and culminates with the detailed BIM deliverables suitable for design, renovation, clash detection and permitting.
Unlike the traditional CAD redrawing, Scan to BIM focuses on the data accuracy, spatial intelligence and model usability across the design and construction workflows. Quality matters: poorly generated models can lead to the design errors, budget overruns and compliance issues.
In practice, many firms outsource this work to specialized providers offering Point Cloud Modeling Services and Scan to BIM Conversion Services that ensures accuracy, consistency and regulatory compliance.
Step-by-Step Workflow: From Site Scan to Permit Set
Let’s explore a realistic, end-to-end workflow that project teams can implement:
Step 1: Project Kick-Off and Requirements Gathering
Before any scanning begins, it’s essential to define:
- Project goals (e.g., renovation, compliance)
- LOD and LOI requirements
- Deliverables and formats (Revit, IFC, Navisworks, etc.)
- Accuracy tolerance (e.g., ±3 mm, ±6 mm)
Key questions at this stage:
✔ What spaces will be scanned?
✔ Will you need structural, MEP or architectural models?
✔ Are there access restrictions?
✔ What regulatory or permitting standards apply?
A clear scope sets the realistic expectations and avoids reworks.
Step 2: Site Scan / Reality Capture
Reality capture is the backbone of a Scan to BIM workflow. There are two common methods:
1) Laser Scanning (LiDAR)
Laser scanning captures the millions of precise 3D points — known as point clouds — representing the surfaces and geometry with high accuracy. It’s ideal for the complex interiors, industrial facilities and renovation projects.
2) Photogrammetry
Photogrammetry uses overlapping photographs to generate 3D meshes and point clouds. It’s suitable for exterior façades and larger outdoor sites.
Best practices for scanning:
- Calibrate equipment before each session
- Use targets/checkpoints for georeferencing
- Scan with adequate overlap for point cloud completeness
- Capture multiple passes for hard-to-reach areas
At the end of this step, you should have a registered and cleaned point cloud dataset ready for modeling.
Step 3: Registration and Point Cloud Preparation
Once all the scans are collected, they must be aligned into a unified coordinate system — a process known as registration. Software like Autodesk Recap, Leica Cyclone or FARO Scene is commonly used.
After registration:
- Remove noise and irrelevant objects (e.g., moving people)
- Segment the cloud by zones (levels, rooms)
- Assign coordinate systems consistent with design standards
This preparation improves modeling accuracy and expedites the next phase.
Step 4: Point Cloud to BIM Modeling
This is the core transformation stage where reality data becomes a usable BIM model.
Modeling Deliverables
- Walls, slabs, roofs, columns
- Doors, windows and openings
- MEP systems (ducts, pipes, conduits)
- Structural elements
- Annotations, levels, grids
Experienced modelers use BIM platforms like Autodesk Revit or Bentley AECOsim to trace the point clouds and convert them to the parametric objects.
Tips for modeling success:
- Reference point cloud intensity and color data
- Use snap and intersect tools for precision
- Validate geometry against scans frequently
- Create families/components for repeated objects
At the end of this phase, you’ll have a coordinated BIM model containing the geometry and metadata, aligned with the survey data as well as the site conditions.
Step 5: Quality Assurance / Model Validation
Before advancing to documentation, the BIM model must undergo strict QA/QC:
✔ Clash detection between the disciplines
✔ Dimensional checks against the point cloud
✔ Review of LOD/LOI deliverables
✔ Annotation and tagging consistency
Quality checks ensures that the model is not just accurate, but also construction-ready and suitable for compliance submittal.
Step 6: Documentation and Permit Set Development
With the validated BIM model in hand, teams can now create the permit documentation:
Typical Permit Set Components:
- Floor plans
- Elevations and sections
- Reflected ceiling plans
- Schedules and legends
- Code compliance documentation
- Life-safety plans
The BIM model serves as the central source of verified information from which all documentation is generated. Software platforms allows for custom templates and annotation standards to meet the jurisdictional requirements.
Step 7: Submission and Revisions
Permit submissions often involves iterations. A few best practices:
- Export drawings in required formats (PDF, DWG, DWF)
- Include coordination reports and compliance checklists
- Communicate with authorities early to clarify standards
- Track revisions in BIM collaboratively
Feedback loops are inevitable. Structured file naming and version control helps in managing this phase efficiently.
Tools and Technologies That Make It Work
A robust Scan to BIM workflow relies on the right tools at every stage:
| Workflow Stage | Example Software / Tech |
| Reality Capture | Leica BLK360, Faro Focus, Matterport |
| Point Cloud Processing | Autodesk Recap, Cyclone, CloudCompare |
| BIM Modeling | Autodesk Revit, ArchiCAD |
| Validation & QA | Navisworks, Solibri |
| Documentation | Revit Documentation, Bluebeam |
Integrating cloud collaboration platforms like BIM 360 or Autodesk Construction Cloud helps the teams to stay synchronized across locations.
Challenges & How to Overcome Them
- Data Overload
Point clouds can be massive. Filter noise and segment early to avoid the slow performance. - Skill Gaps
Modeling reality data requires experience. Investing in training or partnering with specialists improves outcomes. - Code Complexity
Permit requirements vary widely. Early code review and template libraries reduces the cycles. - Coordination Between Disciplines
Use common data environments and clash detection early to mitigate the redesign.
Conclusion: Why Scan to BIM Matters
Scan to BIM is more than a process — it’s a transformative approach that enhances accuracy, cuts risks and improves the collaboration. Moving from raw reality capture to permit-ready deliverables ensures that what gets built reflects what was designed — without surprises.
By embracing disciplined workflows, leveraging the right technology and understanding each project’s unique context, AEC teams can confidently bridge the physical and digital worlds. Whether you are renovating any historic structures or coordinating the large industrial builds, Scan to BIM empowers the smarter decisions and delivers measurable value.